
A buddy of mine at work last month celebrated his birthday. Since he’s a big pirate fan, I decided to use some of my favorite Sublime Stitching pirates to make him some flair for his cube. However, I realized as I was making the piece that I didn’t have a frame and didn’t have time to pick one up. Solution? Use some leftover canvas stretchers to make a ready-to-hang embroidery piece.
Now, I know there are cleaner, more professional ways to stretch fabric, but here’s my gonzo approach.
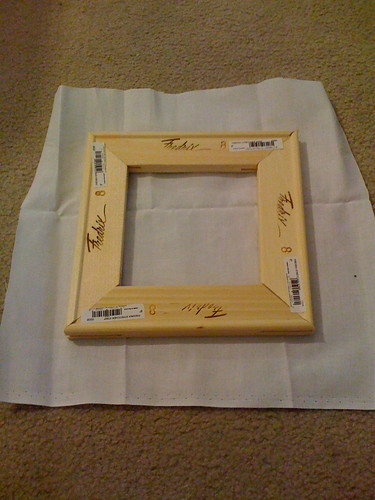
Select your frame size, assemble and place on your fabric
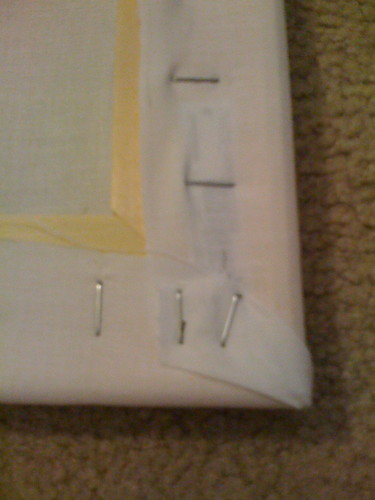
Start stapling. Start with one size, and then do the opposite, pulling the fabric as you staple along. Use hospital corners for the corners. You’ll see as you’re working on it how tight you should be pulling the fabric.
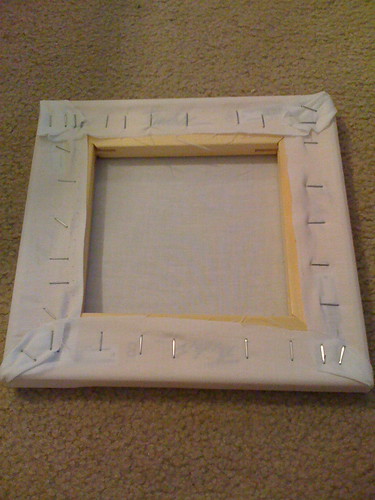
I trim excess fabric on all sides. Like I said, this isn’t the most glamorous approach; time was of the essence!
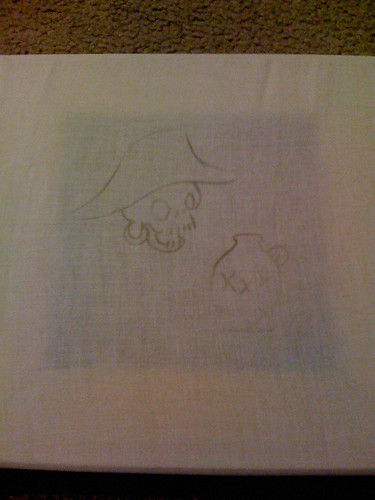
You’ve now got your surface. Since I had such light scrap fabric, I used a low-heat setting on my iron to apply the transfer.
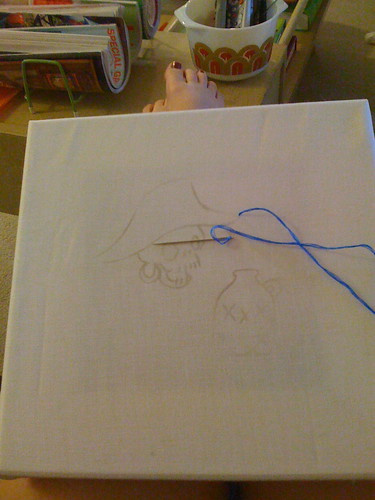
Start stitching! What’s nice about this approach is that your frame also acts as your embroidery hoop. I didn’t have the most complicated design, so this worked well for me.
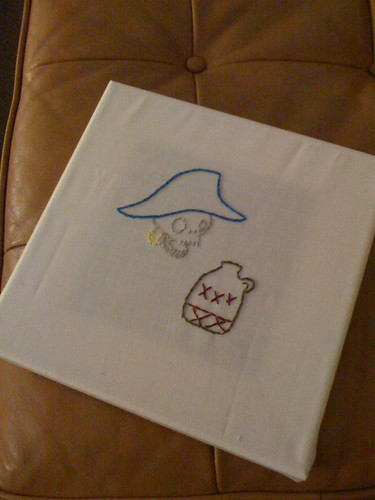
Wrap that bad boy up and watch it find a new home in your co-worker’s cube.