
“Kodachroooooome…”
Paul Simon had it right: Kodachrome is where it’s at! Hmm. Wait a minute. That might have been the case 30 years ago, but nowadays we’re living in a digital world and I am a digital girl. So get those USB cables ready!
DIY PHOTO FUN
Photos don’t have to merely be items that are taking up room on your hard drive. Why not turn them into a fun coloring book page? It’s easier than you might think and you’ll have an original piece of art in the end. I got the know-how for this project from a great Photoshop “tips” Web site. Cool Photoshop tips.
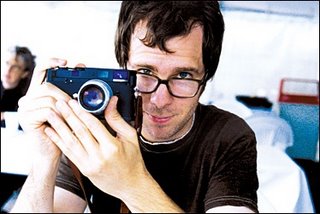
1) Find your favorite photo. You’ll see the best results with a basic image, but don’t be afraid to try anything you want. I was adventurous and chose this popular Ben Folds publicity shot:
2) Under the filter menu, select “find edges” and apply it. The image will take on a funky look as the edges pop to life.
3) Once you’ve done that, go to the image menu and select “adjust” and then “desaturate.” This will knock out all the color and essentially give you a black-and-white image.
4) You’ll want to get rid of some of the gray for more space to color. To do this, go back to “adjust,” but this time select levels and adjust the little clicker until you get the right mix you’re looking for. Usually this means adjusting the gray and white clickers.
5) Over on your layer palette, double click on your background layer. Select “multiply” under the mode option. Call this layer “lines.” Create a new layer and call it “color,” since this is layer you’ll actually be coloring on. Make sure this is beneath the lines layer in the palette.
6) Paint away! Certain brushes work better than others, just like any project. I found No. 45 and No. 55 to be quite good.
Here’s what I ended up with.

Once your photo is looking great, try matting it yourself with the help of the DIY Network: DIY mats
Here are a few good finds from Stephanie:
Photo boxes
Grids, grids, grids!
Photos on the cheap